


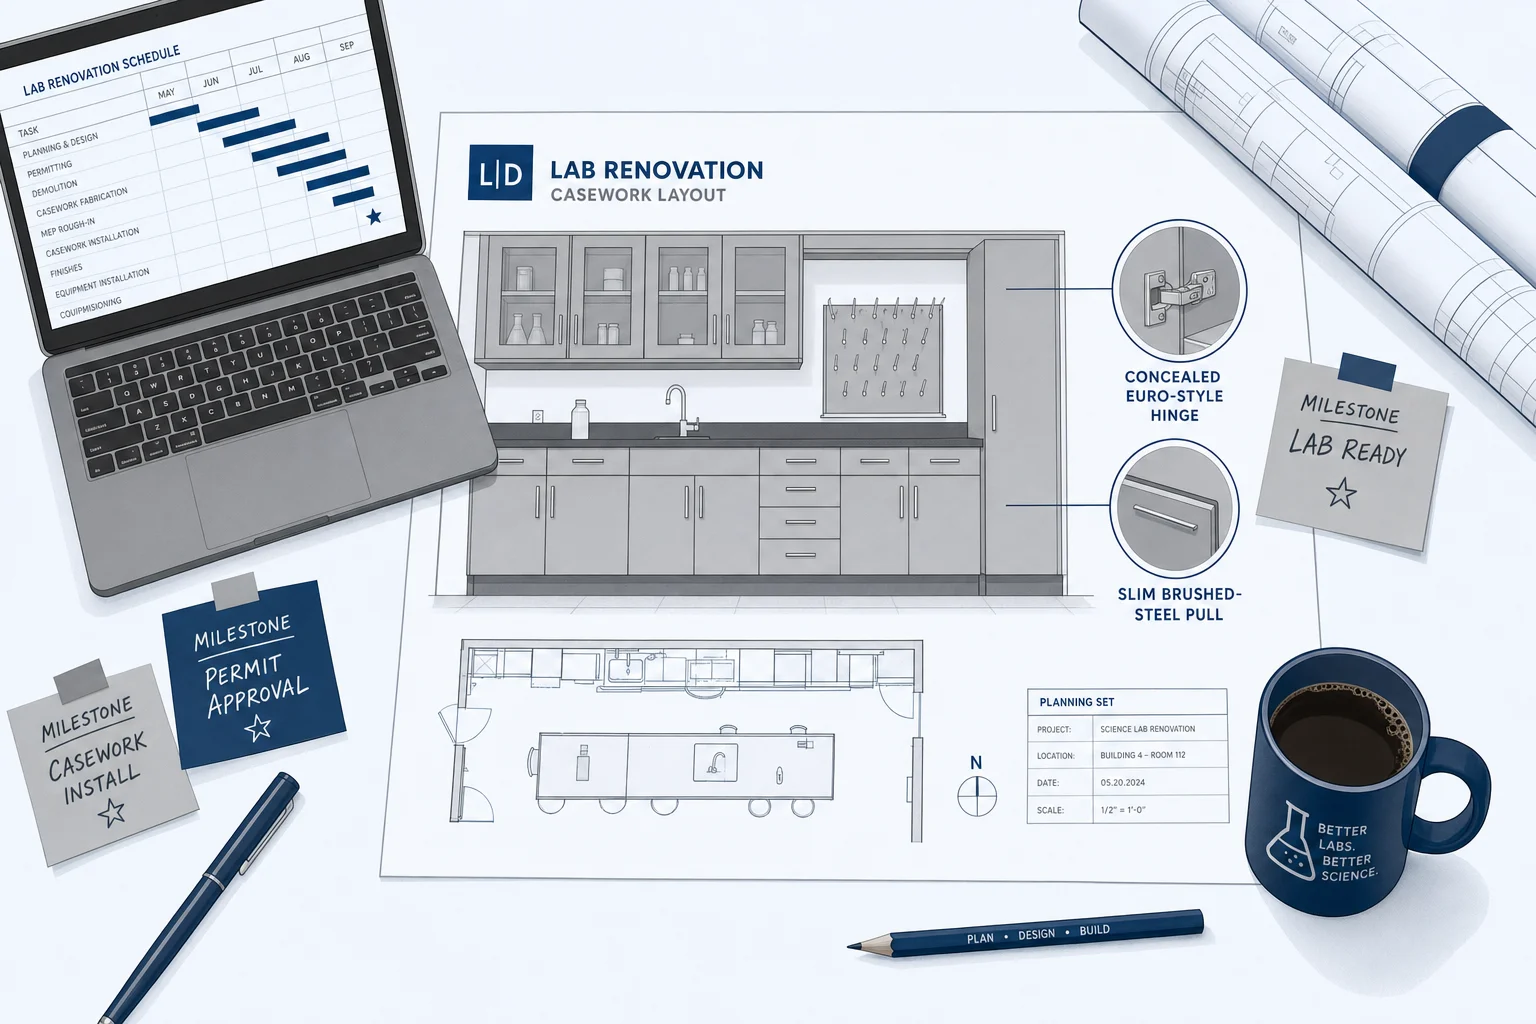
By the OnePointe Solutions Lab Design Team.
Lab renovation surprises shouldn’t be surprises, if you plan accordingly. They are code triggers, ventilation math, and hazard reclassifications sitting in the existing conditions the whole time. Someone just needs to check them before the demo crew shows up. A defensible lab renovation checklist front-loads that work into a 90-day pre-construction window. The surprises then land on a spreadsheet in July, not on a change order in September. Now in construction, nothing is every perfect and things happen all the time. However, with proper planning, you can limit and get ahead some of “surprises” from causing major delays, back charges, and other unfortunate scenarios that come with construction.
For our latest issue, we have developed a lab renovation checklist. It applies when a research floor comes out of production for a refresh. Each step ties back to a first-party source. That means NFPA 45, ANSI/AIHA Z9.5, and the CDC BMBL. It also means OSHA 1910.1450, the NIH Design Requirements Manual, and the WBDG Whole Building Design Guide.
Why a 90-Day Pre-Construction Window Matters
A lab renovation is not a tenant improvement with sinks. It is a scope-defined re-entry into occupancy classification, fire hazard classification, and ventilation design. First, NFPA 45 Chapter 11 changed in the 2015 edition. The chemical storage, handling, and waste disposal chapter now applies to existing laboratories, not only new construction. That means a renovation cannot inherit non-compliant conditions from the previous fit out.
Also, ANSI/AIHA Z9.5 Laboratory Ventilation governs the hood, general exhaust, and makeup air design for both new and renovated lab space. ASHRAE 62.1 explicitly defers to Z9.5 for labs with hazardous materials. So, ninety days is the practical minimum give or take. The window covers the general ventilation math, AHJ coordination, and long-lead casework and hood equipment on the production schedule before demolition.
Step 1: Confirm the New NFPA 45 Fire Hazard Class
Lab renovation checklist should start here. NFPA 45 classifies each laboratory unit as Class A, B, C, or D. The class depends on the type and quantity of flammable and combustible liquids stored and used. Class A is high hazard. Class D is minimal.
If the renovation increases flammable inventory or changes the work, the fire hazard classification may change too. So, the maximum allowable quantity (MAQ) tables, sprinkler design density, fire separation, and permitted lab-unit size all shift with it. First, inventory the current flammable and combustible liquids by NFPA 704 rating. Then compare against the proposed post-renovation inventory. Also, note that NFPA 45 caps Class A and Class B units at 10,000 square feet. Those classes also carry story-height limits. If reclassification pushes the unit above the current story limit, you have a code-driven relocation problem before you have a design problem.
Step 2: Run the Ventilation and Air Change Math
ASHRAE 62.1 Section 6.2.2.1.1.25 explicitly defers to ANSI/AIHA Z9.5 for laboratories with hazardous materials. So, a renovation checklist cannot skip a ventilation risk assessment. The base building code does not carry prescriptive lab rates.
ASHRAE’s Laboratory Ventilation Design Level (LVDL) framework maps each lab space to LVDL-1 through LVDL-4 based on hazard. Then it ties each LVDL to a target air change per hour (ACH) range. Notably, LVDL-3 spaces typically target 6 to 8 ACH occupied. LVDL-4 spaces target 8 to 10 ACH or higher. If the renovation moves the space to a higher LVDL, the existing air handler capacity, exhaust stack, and makeup air paths all need re-verification. Also, if fume hood count grows, the exhaust fan and building static pressure need re-verification too.
Step 3: Review the Chemical Hygiene Plan and OSHA 1910.1450
OSHA 29 CFR 1910.1450, the Laboratory Standard, requires every workplace using hazardous chemicals in a lab to maintain a written Chemical Hygiene Plan (CHP). So, any renovation that changes the chemicals used, the fume hood count, the storage layout, or the emergency egress path also changes the CHP.
First, pull the current CHP. Then read the sections covering fume hood performance verification, chemical storage segregation, and emergency procedures. Next, walk the renovation drawings and flag every scope item that touches those sections. Also, coordinate with the on-site Chemical Hygiene Officer early. The CHP update falls to that officer, not the GC. It must finish before re-occupancy.
Step 4: Verify Biosafety Level and BMBL Requirements
For any renovation touching BSL-2 or BSL-3 space, the CDC BMBL containment and engineering control requirements reign. BSL-3 renovations trigger additional review. The UC BSL-3 Design Standards, for example, define a major renovation broadly. That includes any change to fixed primary containment equipment (ducted BSCs), secondary containment boundaries (walls, ceilings, attached fixtures), or ventilation system performance.
So, a BSC relocation is not a furniture move. It is a containment-boundary change. That change requires certification, ventilation rebalance, and often IBC (Institutional Biosafety Committee) sign-off before re-occupancy. First, list every BSC and CO2 incubator on the renovation plan. Then verify each unit’s decommissioning, decontamination, and re-certification path with the manufacturer and the biosafety officer.
Step 5: Coordinate MEP Cutover Windows
Mechanical, electrical, and plumbing cutovers are where lab renovation schedules slip. First, the exhaust fan cannot come down while any adjacent lab runs open chemistry. Then, the deionized water loop cannot go offline while GMP validation work continues next door. Also, the emergency power branch feeding the -80°C freezers and CO2 incubators has to stay live throughout.
Consequently, the lab renovation checklist needs a written MEP cutover matrix. One row per system, one column per week. It identifies who owns each shutdown, who signs off on the restart, and which occupied spaces feel the impact. This document lives with the CM and the lab manager, not the architect. Notably, draft this matrix early. Some systems need thirty-day advance notice to affected researchers and their sponsors.
Step 6: Casework and Fume Hood Lead-Time Reservations
Metal, phenolic, and epoxy casework runs typically take ten to fourteen weeks and up from released drawings to delivery. Account for longer lead times during the summer. And note that some materials can have longer or shorter lead times than others. Ducted fume hoods run ten to eighteen weeks and up depending on configuration. Consequently, a renovation with a defined re-occupancy date needs a casework and hood order released before demo starts, not after.
First, complete the block layout and confirm the material selection whether wood, plastic-laminate clad, metal, phenolic, polypropylene, or stainless. Of course, pick the material that is complaint with the lab. Then match each material to the correct performance standard. ANSI/AWI 1235-2024 covers wood or plastic laminate. SEFA 8-M-2026 covers metal. For phenolic, use SEFA 8-PH-2026. Polypropylene runs under SEFA 8-P-2026. Stainless needs the SEFA 8-M framework plus ASTM A240 or A666. Additionally, define hood face velocity, sash type (VAV or CAV), and controls at the same time. Those specifications drive the exhaust design at Step 2.
Step 7: Egress, Signage, and Life Safety Verification
Any lab renovation that changes wall locations, door swings, or lab-unit boundaries touches egress. NFPA 45 requires a second means of exit access from any Class A lab unit greater than 500 square feet. The same rule applies to any Class B, C, or D lab unit greater than 1,000 square feet. Additionally, a second means of egress applies to any lab work area with an explosion hazard. It also applies to any lab with a fume hood next to the primary exit access. And it applies to any lab with flammable gas or health-hazard 3 or 4 cylinders larger than lecture bottle size.
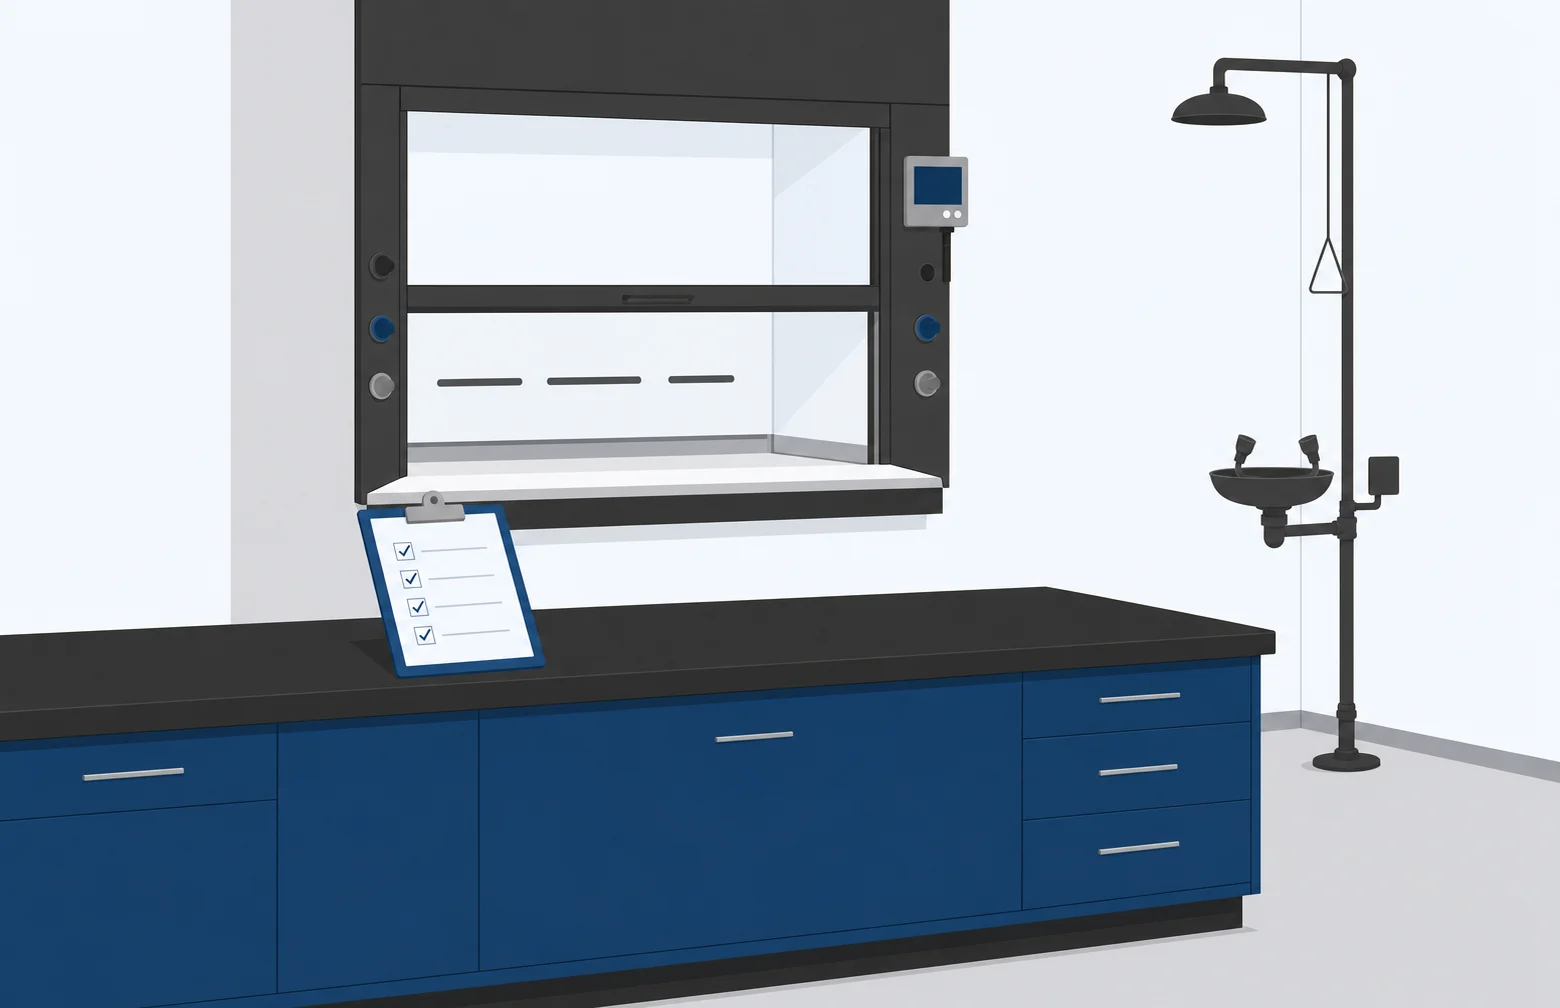
Consequently, moving one wall in a Class A lab unit can trigger a second-exit requirement that did not exist under the old layout. First, overlay the proposed plan on the current life safety plan. Then walk each door swing, each exit path, and each occupancy load with the AHJ. Additionally, verify emergency shower and eyewash locations. ANSI Z358.1 requires them within a ten-second travel distance of the hazard. Moving a bench can put an existing unit out of compliance.
Step 8: Commissioning and Re-Occupancy Sign-Off
Every lab renovation checklist ends with a commissioning path. First, complete and document the hood certification (face velocity, smoke visualization, ASHRAE 110 tracer gas if specified). Then finish the biosafety cabinet re-certification for any BSC that moved. Additionally, functional-test the fume hood monitor alarms and general exhaust interlocks with witnesses on hand.
Consequently, re-occupancy is not a date. It is a signed checklist covering NFPA 45 chemical storage verification, Z9.5 ventilation verification, CHP update, hood and BSC certifications, and eyewash and safety shower compliance. Notably, draft this checklist early (ideally in Step 1). The earlier it lands, the fewer surprises appear in the final week.
Common Lab Renovation Checklist Mistakes
First, treating the renovation as a tenant improvement and skipping the NFPA 45 reclassification step. Second, assuming the existing air handler has spare capacity without running the LVDL and ACH math. Third, ordering casework and hoods after demo starts, then losing four to six weeks waiting for material to arrive.
Similarly, moving a BSC without a manufacturer decommissioning and re-certification path. Or moving a wall without an updated ANSI Z358.1 travel-distance calculation for the eyewash. Rather, each of these items belongs on a written 90-day lab renovation checklist. The owner, architect, CM, and lab manager should all sign off at the pre-construction meeting.
Key Takeaways for 2026 Lab Renovation Checklist Planning
First, a lab renovation is a code re-entry, not a finish upgrade. NFPA 45 Chapter 11 applies to existing labs. ASHRAE 62.1 defers to ANSI/AIHA Z9.5 for lab ventilation. Then, the 90-day pre-construction window carries the real work. That includes fire hazard classification, ventilation math, CHP update, BSL review, MEP cutover matrix, casework and hood lead-time reservation, egress and signage verification, and the commissioning path, all written down before demo.
Additionally, every lab renovation checklist should map to first-party sources. NFPA 45 for fire hazard classification and construction. ANSI/AIHA Z9.5 for ventilation design. OSHA 1910.1450 for the Chemical Hygiene Plan. CDC BMBL for biosafety levels. NIH DRM and WBDG for federal lab design references. Consequently, when the AHJ asks why a particular ACH rate, hood face velocity, or storage cabinet appears in the spec, the answer is a document reference, not a preference.
Need Furniture for Your Lab Renovation?
If you’re planning a lab renovation and need help solidifying the casework and furniture needed, give us a call today (866-612-7312).
Allow us to help you have your lab renovation, a successful one.
And for more help to make your lab a successful, check out these: